15 Mar Celebrate National Four Month with Your Own Sourdough Starter

Here at Tribeca Oven, we’re more than a little obsessed with sourdough. Our artisan bakers use time-honored Old World techniques to make Sourdough Sandwich Loaves, Boules and Baguettes that are plant-based, gut health-friendly and made from sustainably sourced wheat.
Humans first cracked the sourdough fermentation code nearly 6,000 years ago! The way we build sourdough starters today is similar to how our ancestors did, and you can be part of this millennia-old culinary tradition, too. Making a DIY sourdough starter at home takes a bit of time and commitment but it’s quite doable, even for a beginner hobby baker. In celebration of National Flour Month, we’re excited to share how to build, feed and use a sourdough starter.
If you want to go deeper on how fermentation actually works, check out this blog post penned by Tribeca Oven’s Sr. Manager, Artisan Bread R&D, Aileen Semenetz. For more info on what makes sourdough bread gut-friendly, head here!
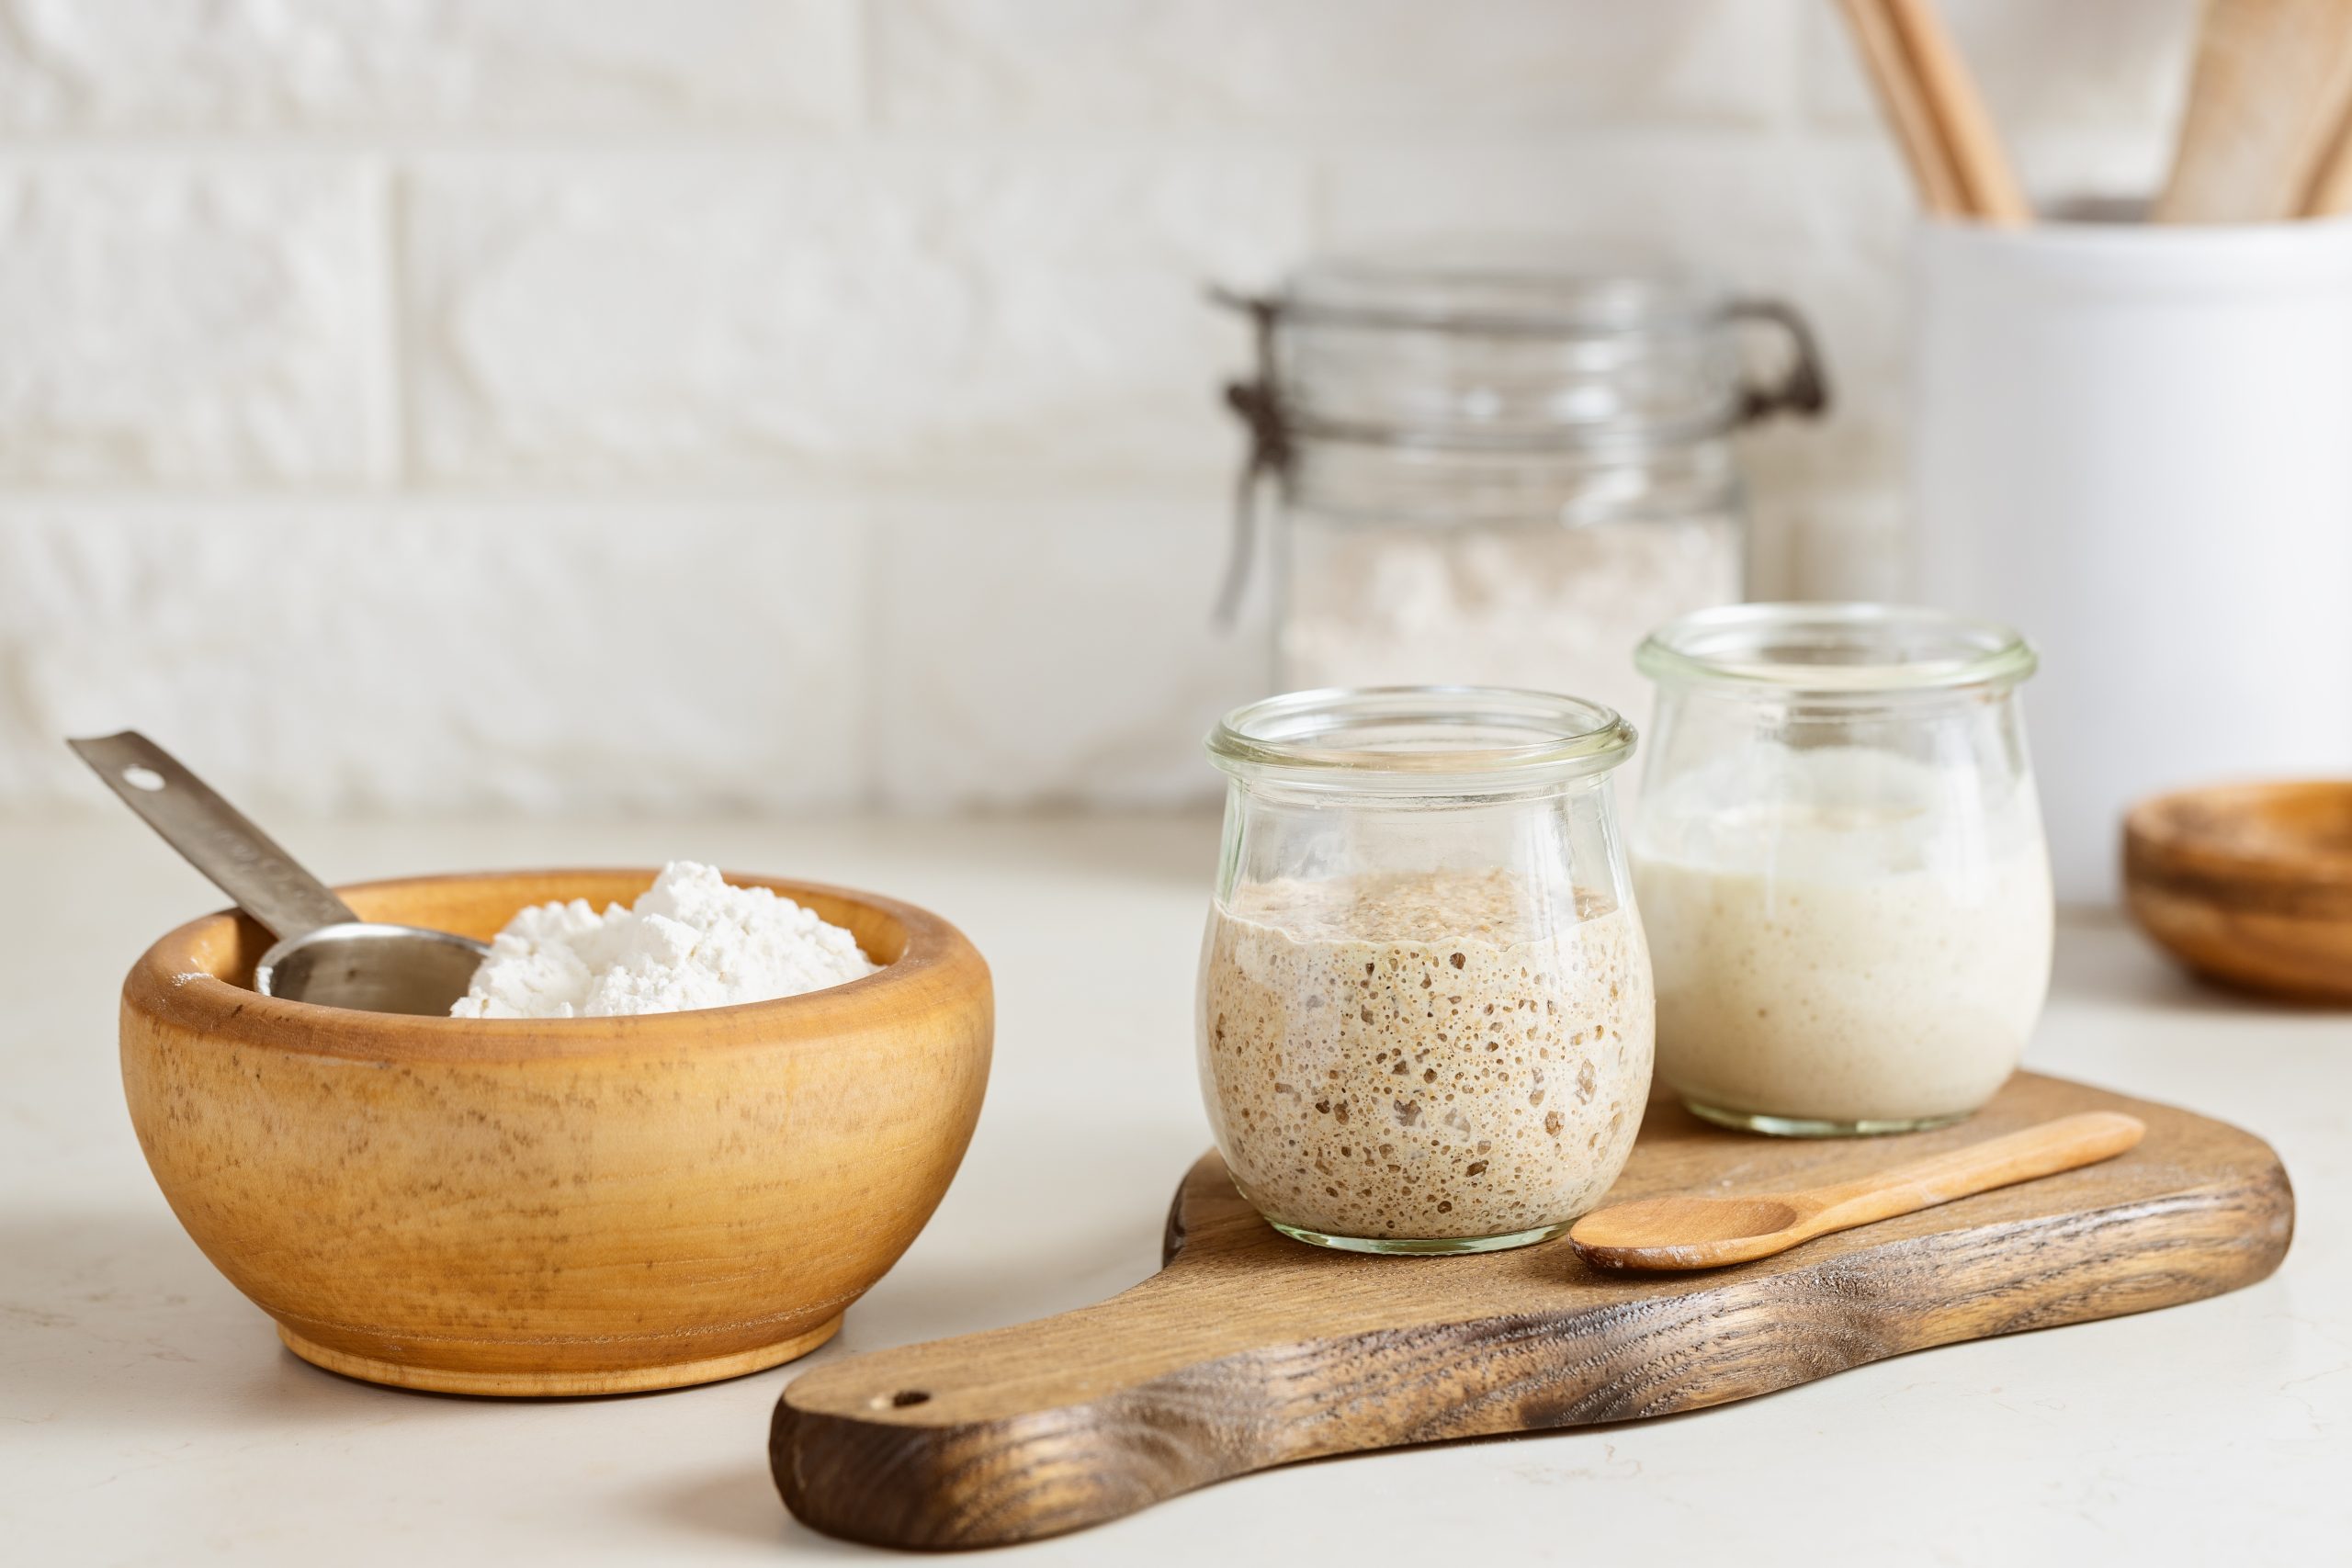
First: What is a sourdough starter? Basically, it’s a simple combination of flour and water that is exposed to the natural yeasts and bacteria all around us. Once those natural yeasts begin to ferment the flour/water mixture, the starter is “alive” and can be used as the leavening agent for baking (as opposed to packaged yeast).
Here are the steps to building a sourdough starter at home; it’s a multi-day process, so read through the full method before beginning:
- All-purpose (AP) or whole wheat flour
- Water
- A clean 24- or 32-ounce glass jar, or stainless steel, ceramic or food-grade plastic vessel
On Day 1, combine 1 cup of whole wheat or AP flour and ½ cup of water in your vessel of choice. Combine the mixture with a fork or small whisk, making sure there is no unincorporated flour. Cover with a lid or plastic wrap, and let it sit in a warm spot (70 degrees Fahrenheit is ideal) for 24 hours.
Tip: if your home is cooler than 70 degrees, place the vessel on top of the refrigerator, or on the center rack of an unheated oven with the light turned on.
On Day 2, remove half of the starter, about ½ cup. To the remainder, add a fresh cup of AP flour and ½ cup of room-temperature water. Stir to thoroughly combine and allow to sit for another 24 hours.
Tip: The sourdough “discard” can be used in a lot of ways. A quick internet search will return recipes for sourdough discard pizza dough, banana bread, pancakes and more!
On Day 3, you should see some activity in the starter, like small bubbles forming. Now is when the “feedings” of the starter happen twice per day. To feed the starter, scoop out all but a generous ½ cup of the starter and add 1 cup of AP flour and ½ cup of water. Stir to thoroughly combine, and cover. The rest of the starter can be discarded. Later that day, repeat the process.
Tip: If possible, space the feedings out every 12 hours.
On Days 4 and 5, repeat the same process for two daily feedings. Remember, each time you feed the starter, you’re removing all but ½ cup and discarding the rest. The ½ cup of starter is what the 1 cup of flour and ½ cup of water are added to.
By the 5th day, the starter should be about double in size, with lots of bubbling action and a tangy aroma.
Tip: If you’re not seeing these signs of progress, you can repeat the twice-daily feedings for 2 more days.
Once the starter is ready (bubbles and fresh yeasty aroma), feed it once more, using the same method of removing all but ½ cup and feeding that with 1 cup AP flour and ½ cup water. Mix, cover and allow that to ferment at room-temperature for another 8 hours. Now, it should be ready for use in any recipe that calls for a sourdough starter!
To keep the starter going, add 1 cup AP flour and ½ cup water to the starter that remains. Stir, cover and allow to ferment at room-temperature for a few hours, then transfer it to the refrigerator. Make sure the jar or vessel is covered but not air-tight.
From there, the starter can be fed about once per week; every time you feed it, remove all but ½ cup and mix in 1 cup AP flour and ½ cup water. After each feeding, allow the jar or vessel to sit at room-temperature for a few hours, then it can go back into the fridge.
Before baking with your starter, you will need to repeat the feeding process, and allow it to sit at room-temperature until it begins bubbling.This can take anywhere from 2 to 12 hours, depending on how recently it was previously fed.
Properly shaping and baking your first loaf of sourdough bread requires a few simple instructions. Check out steps 5-7 in our blog post by Aileen Semenetz for more info.


We hope you give this process a try and enjoy your adventures in sourdough baking! If you prefer to leave it to the professionals, look for Tribeca Oven sourdough breads near you using our product locator.


No Comments