28 Sep The Science of Sourdough

The 7 Steps to Explain the Science Behind Sourdough
The history of sourdough can be traced back as early as ancient Egypt when it is believed that unleavened bread dough was left out when wild yeast found its way in to the dough and imparted the signature tang and yeast flavor that we know and love today.
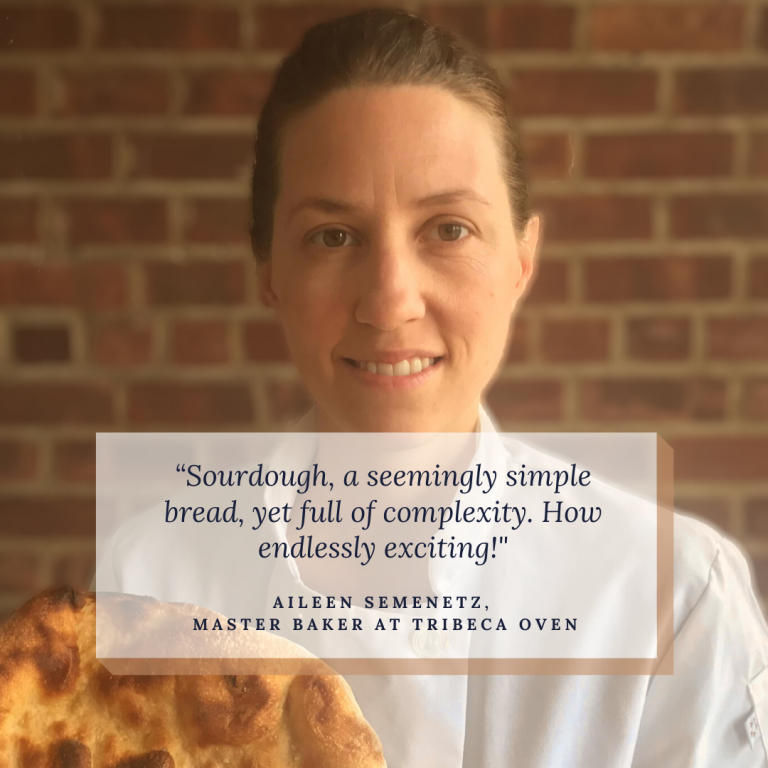
Here at Tribeca Oven, Aileen Semenetz – our head baker, is always focused on ensuring we bring you the best sourdough experience possible. In this blog, she explains the complex process of crafting the perfect sourdough for you to enjoy!
1. The Sourdough Starter
It all starts here. The starter is a live culture made from flour, water, wild yeast and bacteria.It starts as a mixture of flour and water, and once combined the mixture will start to ferment which develops the naturally occurring wild yeasts and bacteria present within the mixture. A small portion of this culture is used to make your bread rise and provide flavor.
Pro tip: Maintain your starter on a schedule with fresh flour and water to continue providing the yeast and bacteria food.
2. Feeding the Starter
Pour off about some of the culture then feed it with equal weights of flour and water. Whisk well with a fork until it’s lump-free and let it rest at room temperature or in a warm spot until it becomes bubbly and doubles in size. This can take anywhere from 2-12 hours or more depending on temperature and the condition of your starter. Be patient!
3. MIXING THE INGREDIENTS FOR YOUR BREAD DOUGH
The four main ingredients are: Flour + Water + Sourdough Starter + Salt. Once your starter is developed, the dough is ready to be mixed. By combining the ingredients, the flour is being hydrated which will help the gluten to develop.
4. FIRST FERMENTATION
After mixing, the dough will begin the process of fermentation. This process develops flavor, strengthens the dough and creates a reaction that causes the dough to fill with gas and grow in size. Additional strength can be developed by folding the dough in on itself. Once increased in volume it is ready to be shaped.
5. Shaping
The dough is then formed into a desired shape. This process also continues to build strength and prepares the dough for the final fermentation.
6. Proofing
This is the final fermentation or rise in the dough. This step continues to add flavor, strength and gas to the dough. Once increased in size, the dough is ready to bake!
7. Baking
Before baking, the bread can be scored for a nice visual appeal. Scores allow your bread to expand in a desired effect. If you prefer not to score, the loaf will burst where the dough is at its weakest, which creates a rustic look. As the dough is heating up, it will continue to expand until the crust is set, adding that unique sourdough crust flavor.
Enjoy!
Slice for toast topped with butter and a sprinkle of salt or as a the base for avocado toast. The possibilities are endless!


Sorry, the comment form is closed at this time.